


一文教你使用OpenCV为照片添加卡通效果
OpenCV 是一个用于实时计算机视觉应用的 Python 库。OpenCV 是开源的,在图像处理、机器学习和深度学习方面有着巨大的应用。OpenCV 可用于对象检测、分类、笔迹分析等。
OpenCV 可以与 Numpy 等库集成,用于各种数学计算。
计算机视觉的主要目的是理解图像。
OpenCV:它是关于什么的?
使用 OpenCV,我们可以执行许多任务,例如-
读取和写入图像
图像处理
捕获和保存视频
特征检测
OpenCV 代表开源计算机视觉库。它是使用 Python 用于计算机视觉的最流行的库。OpenCV 可供所有人免费使用,因此 OpenCV 可用于各种项目和应用程序。
为我们的图像赋予卡通效果
许多应用程序和网站都提供了为图像赋予卡通效果的工具。年轻一代喜欢这个功能,它在社交媒体上也很受欢迎。在这些应用程序的情况下,我们只需上传我们的图像,然后就会返回具有所需效果的图像。
但是,你有没有想过,它们是如何工作的?
为此,需要进行多次图像转换。在执行此操作时需要考虑的一些重要事项是边缘和颜色数量。
让我们继续看看代码。
import cv2
import numpy as np
import matplotlib.image as img
from matplotlib import pyplot as plt
我们将需要 OpenCV 和 NumPy。
现在,让我们阅读图像。

#reading the image
img = cv2.imread("person.jpeg")
我们已经将图像作为输入。
让我们看看图像数据类型是什么。
#image type
type(img)
输出: numpy.ndarray
因此,图像基本上是一个多维的 NumPy 数组。
边缘遮罩
在卡通效果中,通常非常强调图像边缘的厚度。
我们可以使用**cv2.adaptiveThreshold()**函数检测边缘。
在我们继续处理边缘之前,我们需要将图像转换为灰度。然后,使用 cv2.medianBlur函数来降低灰度图像的噪声。
让我们继续看看代码:
#Create Edge Mask
def edge_mask(img, line_size, blur_value):
gray = cv2.cvtColor(img, cv2.COLOR_BGR2GRAY)
gray_blur = cv2.medianBlur(gray, blur_value)
edges = cv2.adaptiveThreshold(gray_blur, 255, cv2.ADAPTIVE_THRESH_MEAN_C, cv2.THRESH_BINARY, line_size, blur_value)
return edges
line_size = 7
blur_value = 7
定义了线条大小和模糊值。为了强调较粗的边缘,采用较大的线条尺寸。
让我们得到边缘。
edges = edge_mask(img, line_size, blur_value)
现在,我们保存图像。
filename = 'edges.jpg'
# Using cv2.imwrite() method
# Saving the image
cv2.imwrite(filename, edges)
输出:
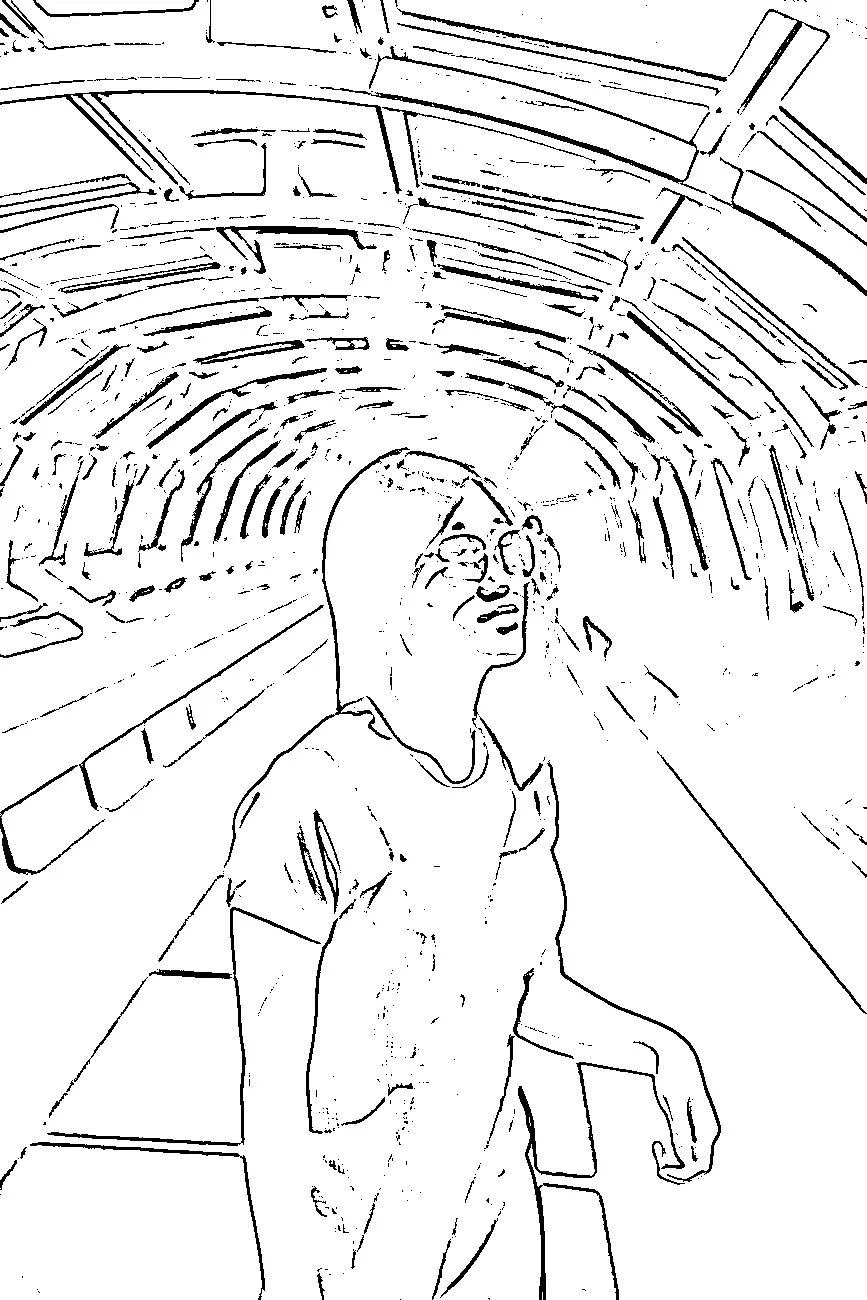
我们可以看到检测到了边缘。
减少颜色数量
照片和草图/卡通之间的主要区别在于不同颜色的数量。与高清照片相比,卡通素描的颜色要少得多。
因此,使用了一种名为颜色量化的方法。这将减少照片中的颜色数量。
K均值聚类算法用于执行该过程。“k”值根据我们需要的颜色数量进行调整。
#colour quantization
#k value determines the number of colours in the image
total_color = 8
k=total_color
在这种情况下,k 的值取为 8。
# Transform the image
data = np.float32(img).reshape((-1, 3))
接下来,图像被转换。
# Determine criteria
criteria = (cv2.TERM_CRITERIA_EPS + cv2.TERM_CRITERIA_MAX_ITER, 20, 0.001)
现在,我们实施 K 均值。
# Implementing K-Means
ret, label, center = cv2.kmeans(data, k, None, criteria, 10, cv2.KMEANS_RANDOM_CENTERS)
center = np.uint8(center)
result = center[label.flatten()]
result = result.reshape(img.shape)
让我们保存图像。
filename = 'colour.jpg'
# Using cv2.imwrite() method
# Saving the image
cv2.imwrite(filename, result)
输出:
好的,现在我们看到了一些效果。
颜色量化完成后,我们现在可以减少图像中的噪声。双边滤波器可用于此任务。
生成的图像会稍微模糊,图像清晰度会降低。
blurred = cv2.bilateralFilter(result, d=10, sigmaColor=250,sigmaSpace=250)
让我们保存图像,看看它的外观。
#saving the image
filename = 'blurred.jpg'
# Using cv2.imwrite() method
# Saving the image
cv2.imwrite(filename, blurred)
输出:

完成后,现在我们做最后的卡通效果。
最终图像
#blurred and edges
cartoon = cv2.bitwise_and(blurred, blurred, mask=edges)
现在,我们保存图像。
filename = 'cartoon.jpg'
# Using cv2.imwrite() method
# Saving the image
cv2.imwrite(filename, cartoon)
让我们看看图像是什么样子的。

输出做得很好。图像被赋予了有趣的效果。
OpenCV 可以进行有趣的图像转换。
现在让我们尝试其他东西,这一次,我们也将使用轮廓。
应用带有轮廓的卡通效果
让我们首先正确定义函数。
首先是颜色量化函数。
#Colour Quantization
def ColourQuantization(image, K=9):
Z = image.reshape((-1, 3))
Z = np.float32(Z)
criteria = (cv2.TERM_CRITERIA_EPS + cv2.TERM_CRITERIA_MAX_ITER, 100, 0.001)
compactness, label, center = cv2.kmeans(Z, K, None, criteria, 1, cv2.KMEANS_RANDOM_CENTERS)
center = np.uint8(center)
res = center[label.flatten()]
res2 = res.reshape((image.shape))
return res2
这里,对于 K-Means,K 的值取为 9。
现在让我们定义轮廓的函数。
#to get countours
def Countours(image):
contoured_image = image
gray = cv2.cvtColor(contoured_image, cv2.COLOR_BGR2GRAY)
edged = cv2.Canny(gray, 200, 200)
contours, hierarchy = cv2.findContours(edged, cv2.RETR_EXTERNAL, cv2.CHAIN_APPROX_NONE)[-2:]
cv2.drawContours(contoured_image, contours, contourIdx=-1, color=6, thickness=1)
return contoured_image
在这个函数中,图像首先被转换为灰度,然后检测边缘。最后,还制作了轮廓。
现在,让我们使用该函数。
使用了下图。
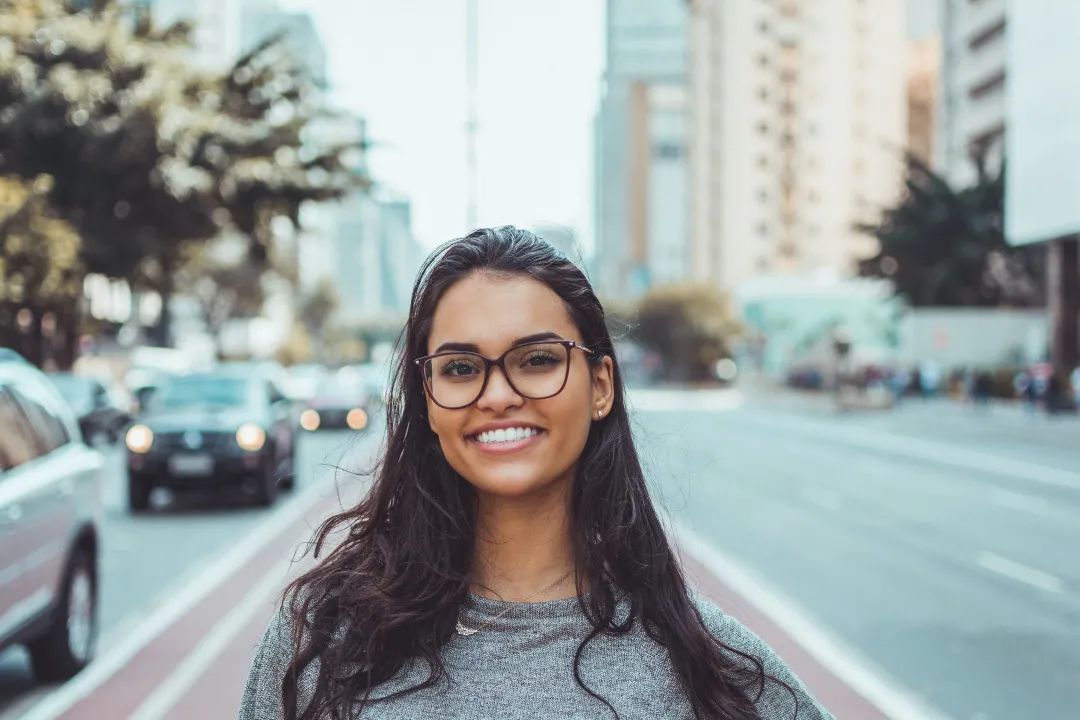
image = cv2.imread("person1.jpeg")
coloured = ColourQuantization(image)
contoured = Countours(coloured)
final_image = contoured
在此之后,图像被保存。
filename = 'cartoon_final.jpg'
# Using cv2.imwrite() method
# Saving the image
cv2.imwrite(filename, final_image)
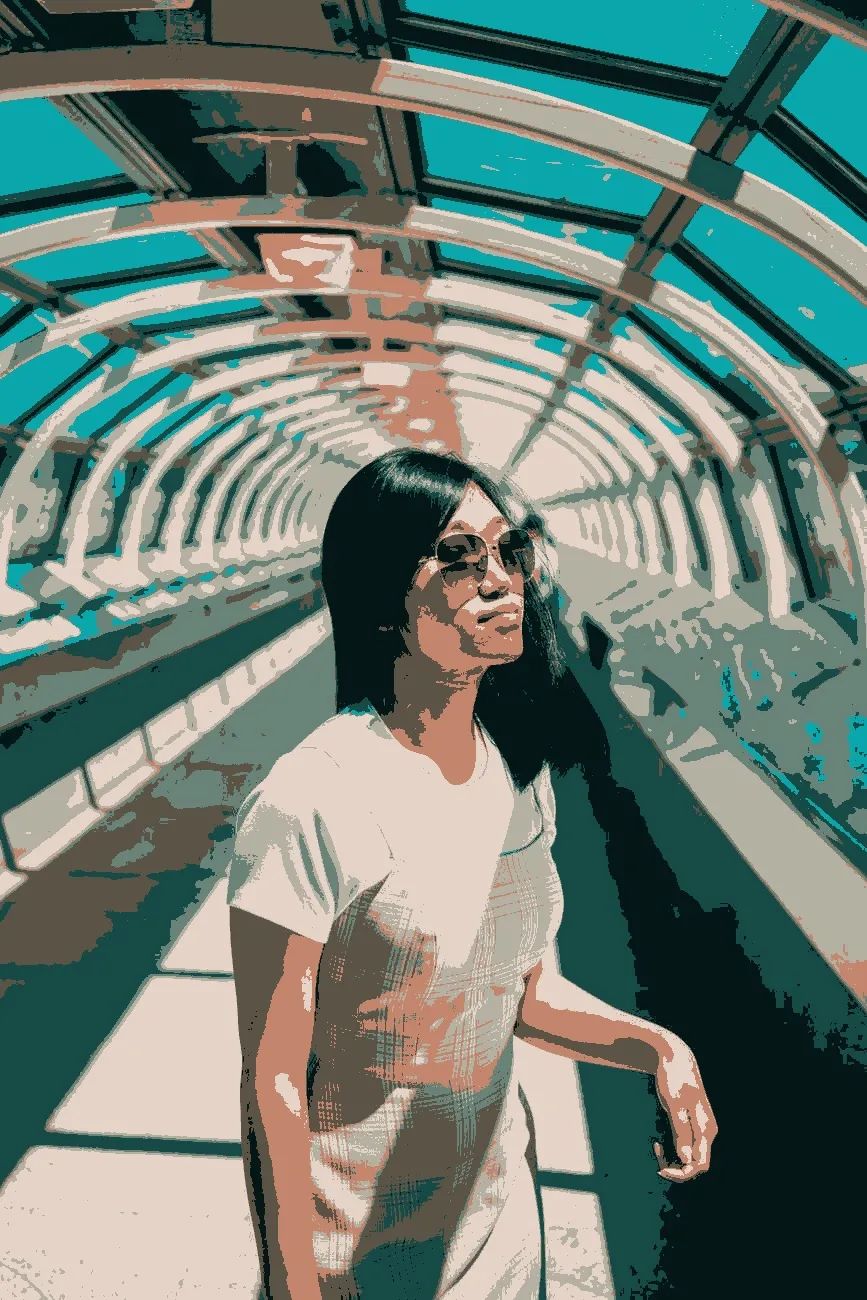
输出:

在这种情况下,输出也很有趣。
通过改变各种参数,可以修改卡通效果。
说到用途,目前这类处理方法主要用于社交媒体和艺术目的。人们可以对他们的图像进行有趣的编辑,并将它们发布到社交媒体上。

 分享
分享


发表评论
请输入评论内容...
请输入评论/评论长度6~500个字
暂无评论
暂无评论